A Step-by-Step Tutorial to install Selenium WebDriver
Selenium WebDriver is a powerful tool for automating web browsers, and it’s widely used for web testing. Here’s a step-by-step guide on how to download and install Selenium WebDriver for a fresher:
Step 1: Install Java Development Kit (JDK)
Download JDK:
Visit the official Oracle website to download the latest version of the Java Development Kit (JDK): Oracle JDK Downloads.
Install JDK:
Follow the installation instructions for your operating system (Windows, macOS, or Linux).
Set JAVA_HOME (Environment Variable):
After installation, set the JAVA_HOME environment variable to point to the directory where you installed the JDK. This step is essential for Selenium to work correctly.
Step 2: Download Selenium WebDriver
Go to the SeleniumHQ Downloads Page:
Visit the Selenium official website’s Downloads page: Selenium Downloads.
Download Selenium WebDriver:
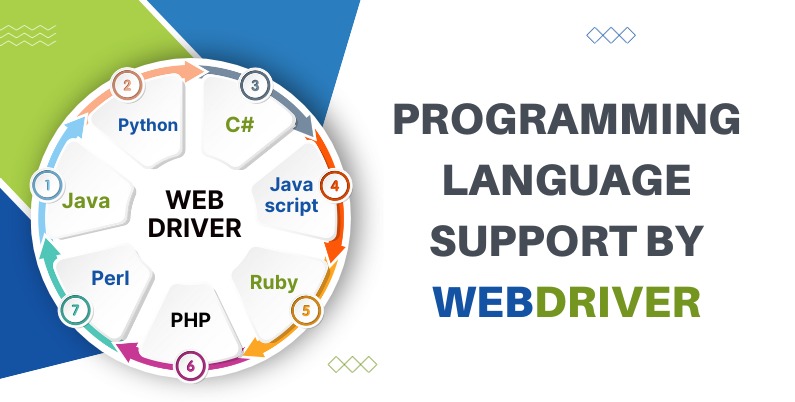
Locate the Selenium WebDriver section and download the appropriate version of the WebDriver for your preferred programming language (Java, Python, C#, etc.).
Step 3: Set Up a Project
Create a Project Folder:
Create a new folder for your Selenium project. This is where you’ll store your test scripts and WebDriver libraries.
Extract WebDriver Zip File:
If you downloaded a zip file, extract its contents into your project folder.
Step 4: Set Up a Development Environment
Choose a Development IDE:
Select a development environment. Popular choices include Eclipse, IntelliJ, or Visual Studio Code.
Create a New Project:
Open your chosen IDE and create a new project in the folder you created earlier.
Configure the Project:
Configure your project to use the JDK you installed. Also, include the Selenium WebDriver libraries in your project.
Step 5: Write Your First Selenium Script
Create a New Class:
Create a new class in your project where you’ll write your Selenium test script.
Write a Simple Script:
Write a basic script to open a web browser and navigate to a website using Selenium WebDriver commands.
import org.openqa.selenium.WebDriver;
import org.openqa.selenium.chrome.ChromeDriver;
public class MyFirstSeleniumTest {
public static void main(String[] args) {
// Set the path to the ChromeDriver executable
System.setProperty(“webdriver.chrome.driver”, “path/to/chromedriver”);
    // Create an instance of the ChromeDriver
    WebDriver driver = new ChromeDriver();

    // Navigate to a website
    driver.get("https://www.qatraininghub.com");

    // Close the browser
    driver.quit();
}
}
Step 6: Run Your Selenium Test
Download Browser Driver:
Download the browser driver (e.g., ChromeDriver, GeckoDriver) compatible with your browser. Place it in your project and set the path in your script.
Run Your Script:
Execute your script in the IDE. You should see a browser window open, navigate to the specified website, and then close.
In this way, you can install Selenium Webdriver.